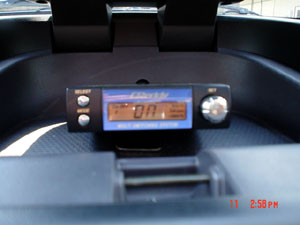
VVL Installation / Greddy MSS
|
|
The Greddy MSS, instructions by JGY
This is an abbreviated overview of the install process.
Wires:
- Yellow goes to intake cam solenoid (closest to VC) (1)
- Green goes to exhaust (2)
- Orange, const power
- Red is ignition switched power
- Black ground
- Tach is brown
- Speed is blue (optional)
If you want to allow your setup to work contingent upon different TPS voltages, then connect the TPS wire to the 0to5 volt wire on the TPS.
Solenoids: each one has 2 contacts. Connect one of them to constant power. The other contact will go to either the Yellow or the Green wire. The MSS completes a ground to the solenoids only. Connecting the solenoids to constants power will NOT drain your battery.
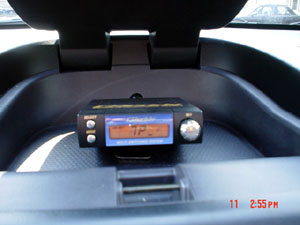
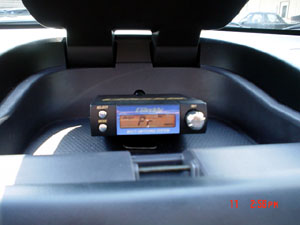
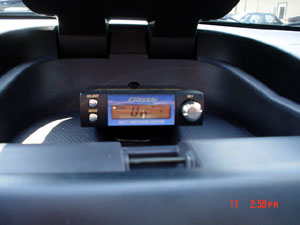
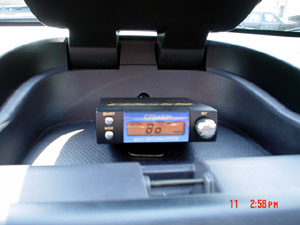
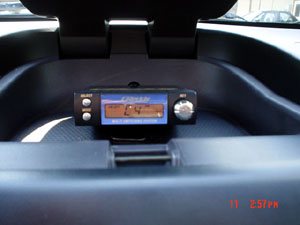
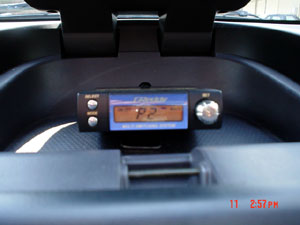
Pushing the Mode button for more than 2 seconds allows you access to all these settings. When you are done, push it for 2 seconds.
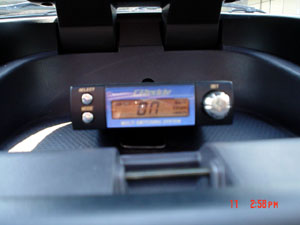
Toggling with the Mode, Select, and turn dial will allow you access to these settings. We opted not to use the TPS signal. So we needed to set the "Vo" value for (1) and for (2) for on and off to be at a value of ZERO. This means that no matter what the voltage at the TPS is, the solenoids will work. You may not want this, so that if you are casually accelerating, the solenoids won't turn on. JGY and its customers don't drive VVL cars and NOT want them to turn on, so we did it this way.
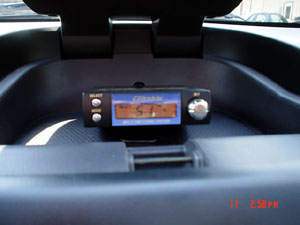
In normal mode, make (for 1, which is solenoid 1) show on at 510 and off at 510. 510 means 5100 rpm's (70 means 700 RPM's) This will make the intake kick on at 5100 rpms and only turn off below 5100 rpms. We also used the SELECT button and went to Vo (TPS voltage) and make on and off be ZERO.
For the exhaust to kick on, make the "2" show up and use the dial and mode button's allow you to adjust the value of "on" and "off" to what you want.
Don't forget to not get stressed at the learning curve of figuring out when to push the buttons.
